

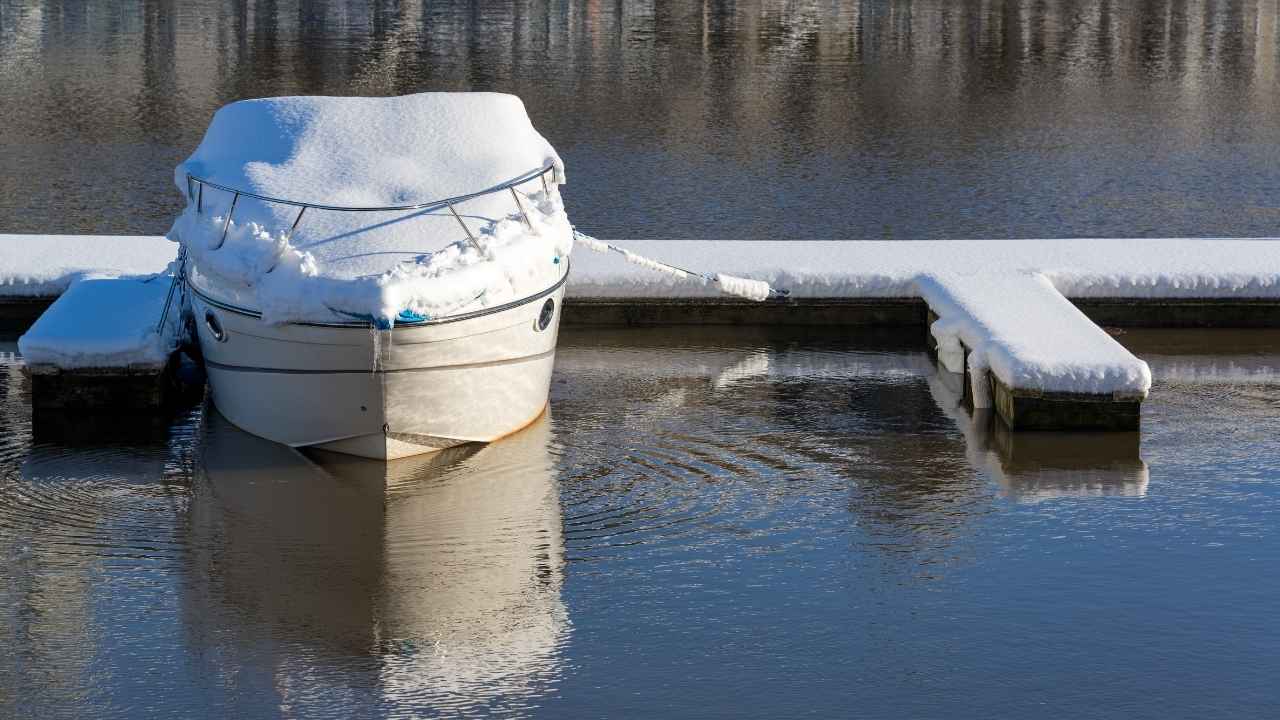
Getting your boat ready for Canadian waters takes a lot more than a quick scrub and a turn of the key. After months of deep-freeze conditions, trapped moisture, and degraded fuel, spring commissioning is a controlled reactivation of your vessel’s most critical systems. Think of this process as your first line of defence against launch-day disasters: it’s about hunting down hidden failure points below the waterline, proving your propulsion and cooling systems are reliable, and guaranteeing your Transport Canada safety gear is fully operational and within arm’s reach before your boat ever touches the water.
Why Proper Commissioning Matters
A spring boating checklist is effective only if it addresses failure modes that inhibit a successful first launch. Canadian spring commissioning has three primary technical drivers:
Frozen water damage is mechanical, not cosmetic. Upon freezing, water undergoes approximately a 9% volumetric expansion from liquid to solid, which generates sufficient force to fracture fittings, housings, and containers. In marine environments, this risk is most significant in raw-water engine-cooling circuits (including sea strainers and hoses), potable-water plumbing, sanitation lines, and gearcases, where water ingress can remain undetected during layup. Therefore, a comprehensive maintenance checklist mandates integrity inspection prior to re-pressurizing or circulating raw water.
Fuel and corrosion hazards intensify while the boat is stationary. Ethanol-blended gasoline absorbs ambient moisture through the tank vent; phase separation can occur, accumulating water or ethanol at the bottom, leading to degraded performance or mechanical damage when drawn. Spring commissioning must include a fuel-system inspection of lines, fittings, filters, separators, and initial operational monitoring for leaks and alarms, with a focus on aged or winter-hardened hoses.
Regulatory readiness is an integral part of commissioning, not something to be left until later. The minimum safety equipment depends on your specific boat type and length, but it must always be maintained, serviceable, and readily accessible. Transport Canada also requires all operators of recreational motorized pleasure craft to carry proof of competency. This includes those with electric trolling motors, even when the motor is not in use while sailing. In practical terms, make sure your spring boat checklist includes a compliance inventory, right along with your checks on pumps, hoses, and filters.
Avoiding the Most Common Early-Season Breakdowns
- Do not recommission prematurely if overnight freezing is still possible in your area. Introducing water to potable or raw-water systems and leaving the vessel unheated can subject them to renewed freeze risk after seacocks are opened, tanks are filled, or antifreeze is removed. Experienced yards sequence commissioning: dry inspections first, followed by wet-system testing only when temperatures are reliably above freezing and the vessel can be attended.
- Vapour control is a key safety system for gasoline inboards and gasoline sterndrives. Enclosed spaces containing a gasoline engine must have powered ventilation, and the blower must be operated for four minutes before starting. Build that into your spring boat prep so it is never skipped during first-start troubleshooting.
Poco Marine supports this approach because their catalogue consolidates the commissioning-critical categories such as engine parts, Pumps and Plumbing, Maintenance Lubricants, Marine Paints & Supplies, Electronics, Anchoring and Docking, Safety gear, and Trailering, so you can complete both the technical work and the compliance refresh without split-sourcing.
Your Step-by-Step Commissioning Workflow

This spring maintenance checklist is structured to follow the three main phases used by professional yards: 1) dry inspection (no water or pressure applied); 2) controlled system reactivation with correct water supply; and 3) post-launch verification under real hydrostatic and dynamic loads. Each step is meant to address specific commissioning risks and common failure modes.
Step 1: Dry Inspection and System Reactivation
Begin with a close look at the hull, underwater gear, plumbing connections, and engine room. Your goal is to catch and fix preventable leaks or issues before your boat goes in the water.
Step 2: Inspection of Your Hull, Deck, and Underwater Appendages
- Carefully inspect the hull and running surfaces for any cracks, blisters, distortion, or impact damage before launch. These problems are much easier to spot and address before the boat goes in the water.
- Inspect propellers for dings, pitting, and distortion, and confirm cotter pins or locking hardware are secure where applicable. On inboard shaft systems, grip the prop and attempt to move the shaft; excessive movement can indicate cutless bearing wear.
- Inspect sacrificial anodes (often called “zincs” even when the alloy is aluminum). Replace anodes that have been consumed past practical service (more than half wasted), as anode depletion exposes underwater metals to accelerated galvanic corrosion.
- If the vessel is bottom-painted, check the antifouling condition and repaint if required. This is most efficient on the hard before launch.
Step 3: Checking Through-Hulls, Seacocks, Hoses, and Clamps
- Inspect, lubricate, and exercise seacocks and thru-hulls. The intent is not just “moves freely,” but “will close under load” and “does not bind.”
- Inspect all hoses for stiffness, rot, leaks, and cracking, and insist on a correct fit. Hose failures in spring are commonly clamp-related or age-related. Inspect clamps for rust and replace as necessary; double-clamp fuel lines, exhaust hoses, and (where feasible) hoses below the waterline using marine-rated stainless clamps.
- Treat sealants and adhesives as engineered components for plumbing work. Bedding choices matter. They depend on substrate, joint design, and whether you need to disassemble in the future.
Step 4: Recommissioning Pumps, Bilge Systems, and Plumbing
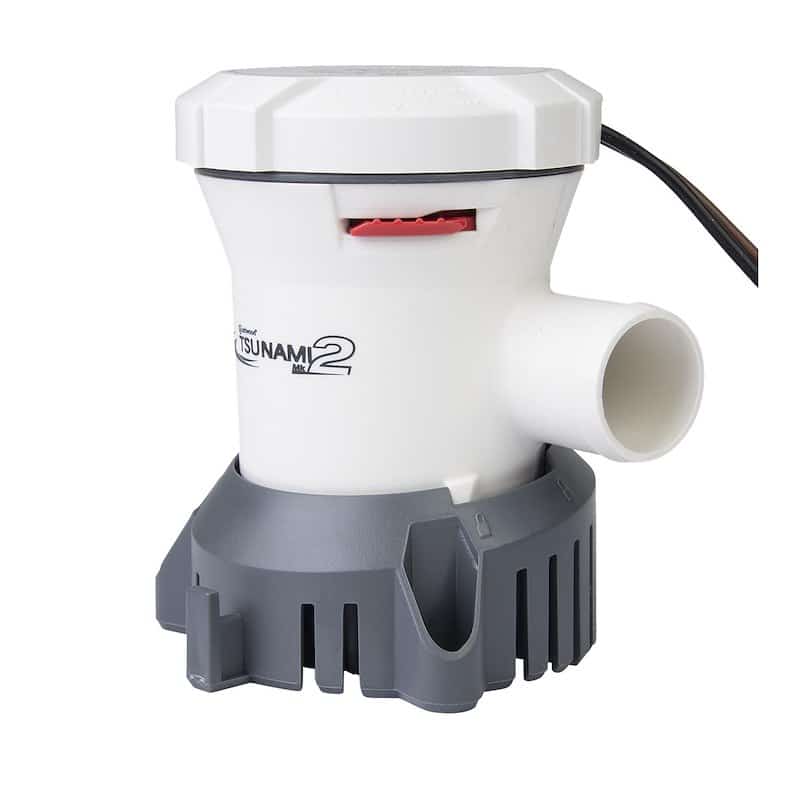
- Bilge pumping is a main safety system. Test pumps and float switches for automatic and manual operation. Inspect discharge hoses for splits, kinks, or poor support.
- Recommission water systems deliberately, especially if antifreeze was used. Refill tanks and run fresh water through fixtures. For raw-water systems, open intake through-hulls and reintroduce raw water to engines, heads, and washdown pumps, then flush bilge-related pumps/sumps with clean water.
Step 5: Pre-Start Engine Compartments and Electrical Checks
- Fuel system inspection is mandatory: check fuel lines for softness, brittleness, cracking, and leaks at joints; ensure lines are supported. Replace or service filters and separators as required. Inspect tanks, pumps, and filters for seepage.
- Validate battery and electrical integrity before the first start. Charge batteries, clean and tighten connections, and adjust electrolyte levels as needed.
- For inboards, inspect sea strainers and verify that they are clean and properly secured before opening the intake. If the vessel uses a traditional stuffing box, confirm adjustment: a commonly used benchmark is no more than two or three drops per minute while the shaft is turning.
Step 6: Power up Your Electronics and Navigation Readiness
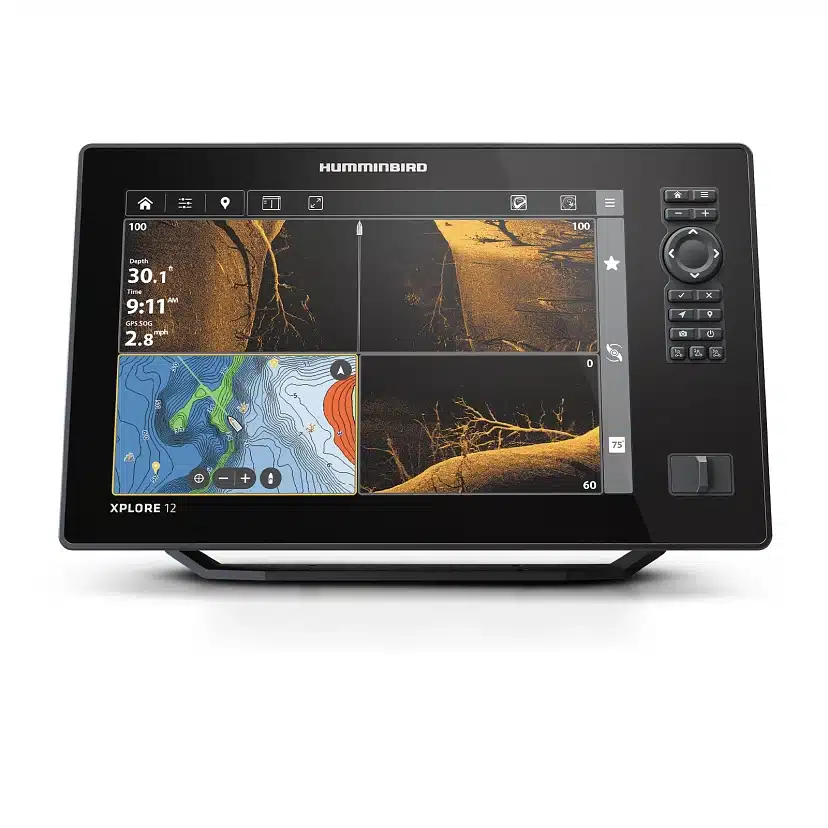
Humminbird Xplore12 cmsi+ fishfinder chart plotter
Power up helm electronics and perform a systems check: confirm chartplotter/MFD startup, GPS position fix, sounder/transducer detection, and VHF radio operation.
Step 7: Inspecting Your Anchoring and Docking Gear
Treat ground tackle as a load-bearing system. Inspect the anchor, rode, chain or rope ends, shackles, swivels, and windlass for corrosion and binding.
Transport Canada Safety and Compliance Checklist
Compliance requires that equipment be in good working order and easily accessible.
- At minimum, many common boats require lifejackets or PFDs for each person, a buoyant heaving line, a bailer or manual bilge pump (with certain exceptions), a sound-signalling device, and navigation lights.
- Pyrotechnic distress signals expire four years after their date of manufacture. Legacy equivalency, where older Type A/B/C/D flare designations may be carried, is permitted under certain conditions.
- Proof of competency is required for operating any motorized recreational boat.
- A Pleasure Craft Licence is needed if the craft is principally operated in Canadian waters and has engines totalling at least 10 hp (7.5 kW), unless it is registered.
- Poco Marine supports compliance-driven outfitting with a dedicated Safety category.
How to Safely Run Your Engine Out of the Water
Your objective is controlled verification: water supply, charging, shift/throttle response, alarms, steering, and leak detection.
Outboards and Sterndrives Using Flushing Muffs / Flush Kits
- Use the correct attachment for your lower-unit intake geometry to ensure the water pump impeller receives immediate lubrication.
- Turn the freshwater supply on first and confirm a strong flow before starting. Never run an outboard motor without a water supply.
- Keep the engine at idle in neutral. Look for water discharge at the telltale or exhaust and monitor temperatures.
- If your commissioning uncovers chronic overheating, treat the raw-water pump impeller as a wear item.
Inboards Using an Intake-Cup Engine Flusher
- Inboards typically require a flusher that seals over the hull intake. Connect a garden hose, fit the cup over the water intake, and apply sealing pressure.
- Operate the blower for at least 4 minutes before starting gasoline inboards and sterndrives. This is not optional.
Fuel and Alarms During First Start
- Test engine warnings and alarms, and verify trim/tilt and steering hydraulics. Any fuel odour, wet fitting, or seepage is a shutdown-and-repair condition.
- Treat stale or water-contaminated fuel as a plausible root cause for a rough first start. Fuel system service parts belong on the bench before troubleshooting.
Launch-Day Checks and First-Water Shakedown
- Immediately inspect all through-hulls and below-waterline plumbing for leaks under seawater head pressure and vibration.
- Confirm bilge pumps cycle correctly and that discharge streams are clear.
- Run the vessel at low load first to validate steering, throttle, and vibration.
- If trailered, ensure the trailer is roadworthy (tires, bearings, lights, winch, brakes).
Required Boating Commissioning Supplies
A comprehensive job requires the right marine-grade materials on hand:
- Engine and drive service consumables: Engine oil, filters, gear lube, replacement gaskets, fuel filters, and cooling-system parts
- Pumps and plumbing: Bilge pump hose, fittings, marine-grade hose clamps, and sealants/adhesives
- Electrical recommissioning: Battery tools, corrosion inhibitors, fuses, bulbs, and charging equipment
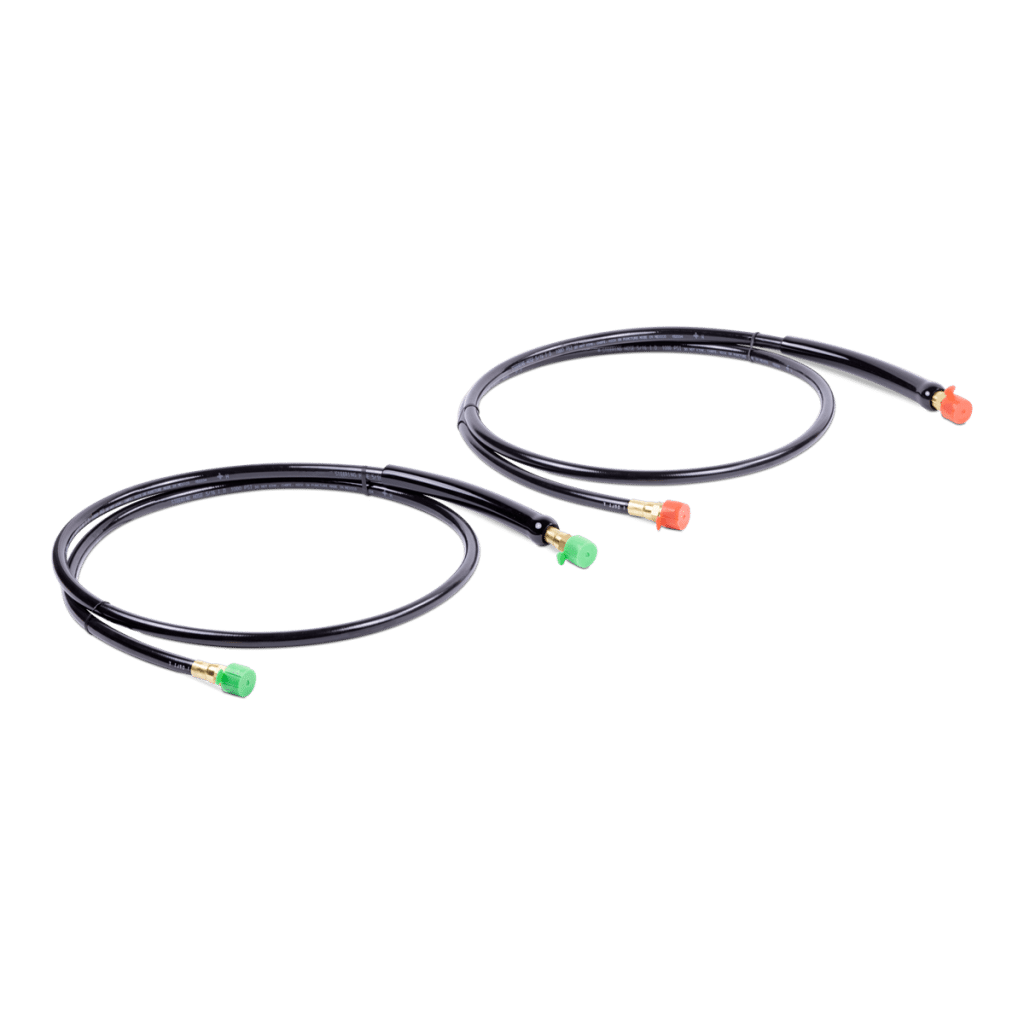
- Cooling-water delivery tools: Flush muffs/kits or intake-cup flushers.
- Preservation: Antifouling paint, finishes, rollers, masking tape, and protective wear
- Safety compliance: PFDs, flares, sound devices, and heaving lines
FAQs
Why should I wait to recommission my boat if it might still freeze overnight?
Reintroducing water to your plumbing or engine systems too early risks new cracking and freeze damage if the temperature drops.
What happens to boat fuel that sits over the winter?
Ethanol-blended gasoline can absorb moisture and separate, leading to poor engine performance or damage during the first start.
How long are my boat’s distress flares good for in Canada?
Under Transport Canada regulations, pyrotechnic distress signals expire four years after their date of manufacture.
Can I briefly test-start my outboard motor out of the water without a hose?
No, you must always use a connected water supply, like flush muffs, to prevent destroying the water pump impeller.
Why do I need to run the blower before starting my gasoline inboard?
Running the blower for four minutes clears potentially explosive fuel vapours from the enclosed engine compartment before ignition.